


My great-grandmother made pirozhki, my grandmother made pirozhki, my mom makes pirozhki, and I make pirozhki, too. It's in my blood. There is a great of variety of buns stuffed with different fillings in different European and even Asian countries. Here I post the true Russian recipe of pirozhki. "Pirozhki" means "little pies" in Russian. "Pirozhok" is a singular form of "Pirozhki." Russians stuff their pirozhki with a mind-boggling variety of different fillings: apple, cherry, cabbage, mushrooms, potatoes, all sorts of meats, eggs, etc. This dough reciple can be used for any variety of pirozhki.
I'm also including three ideas of my favorite fillings below. You can either make the whole batch with one filling, or mix and match. I usually make two fillings: one savory and one sweet. This dough recipe makes about 30-35 pirozhki. The fillings approximate servings are included next to each recipe idea. You can double them if you need to.


Potato Filling For 15-20 Pirozhki
- 5 medium potatoes, boiled and mashed with a little bit of liquid
- 1 bunch green onions, chopped
- 1 tbsp butter
- salt and pepper to taste
Make regular mashed potatoes. Stir in green onions, butter, salt and pepper. Cool the filling before making pirozhki.
Apple Cinnamon Filling for 10-15 Pirozhki
- 1 tbsp butter
- 4 1/2 cups finely chopped apples with skins
- 3 tbsp sugar
- 1/2 tsp cinnamon
- 1/4 cup golden raisins
On medium heat, melt the butter in a large skillet. Add apples and cook, letting the liquid release, for 10 minutes. Add sugar, cinnamon, and raisins. Cover with a lid and cook until the apples are very soft. Cool the filling before making pirozhki.
Egg and Rice Filling for 10-15 Pirozhki
- 5 hard-boiled eggs, finely chopped
- 1 1/4 cup rice, cooked
- 1 bunch green onions, chopped
- salt and black pepper to taste
Mix all ingredients together. Make sure the filling is cool before you start making the pirozhki.
Pirozhki Dough
- 2 1/4 oz packages instant yeast
- 1/3 cup warm water
- 3 eggs (plus 1 for brushing)
- 4 tbsp sugar
- 1 1/2 cup sour cream
- 4 1/2 cups all-purpose flour
- 1/4 tsp salt
Preheat oven to 350F when you're about ready to bake.
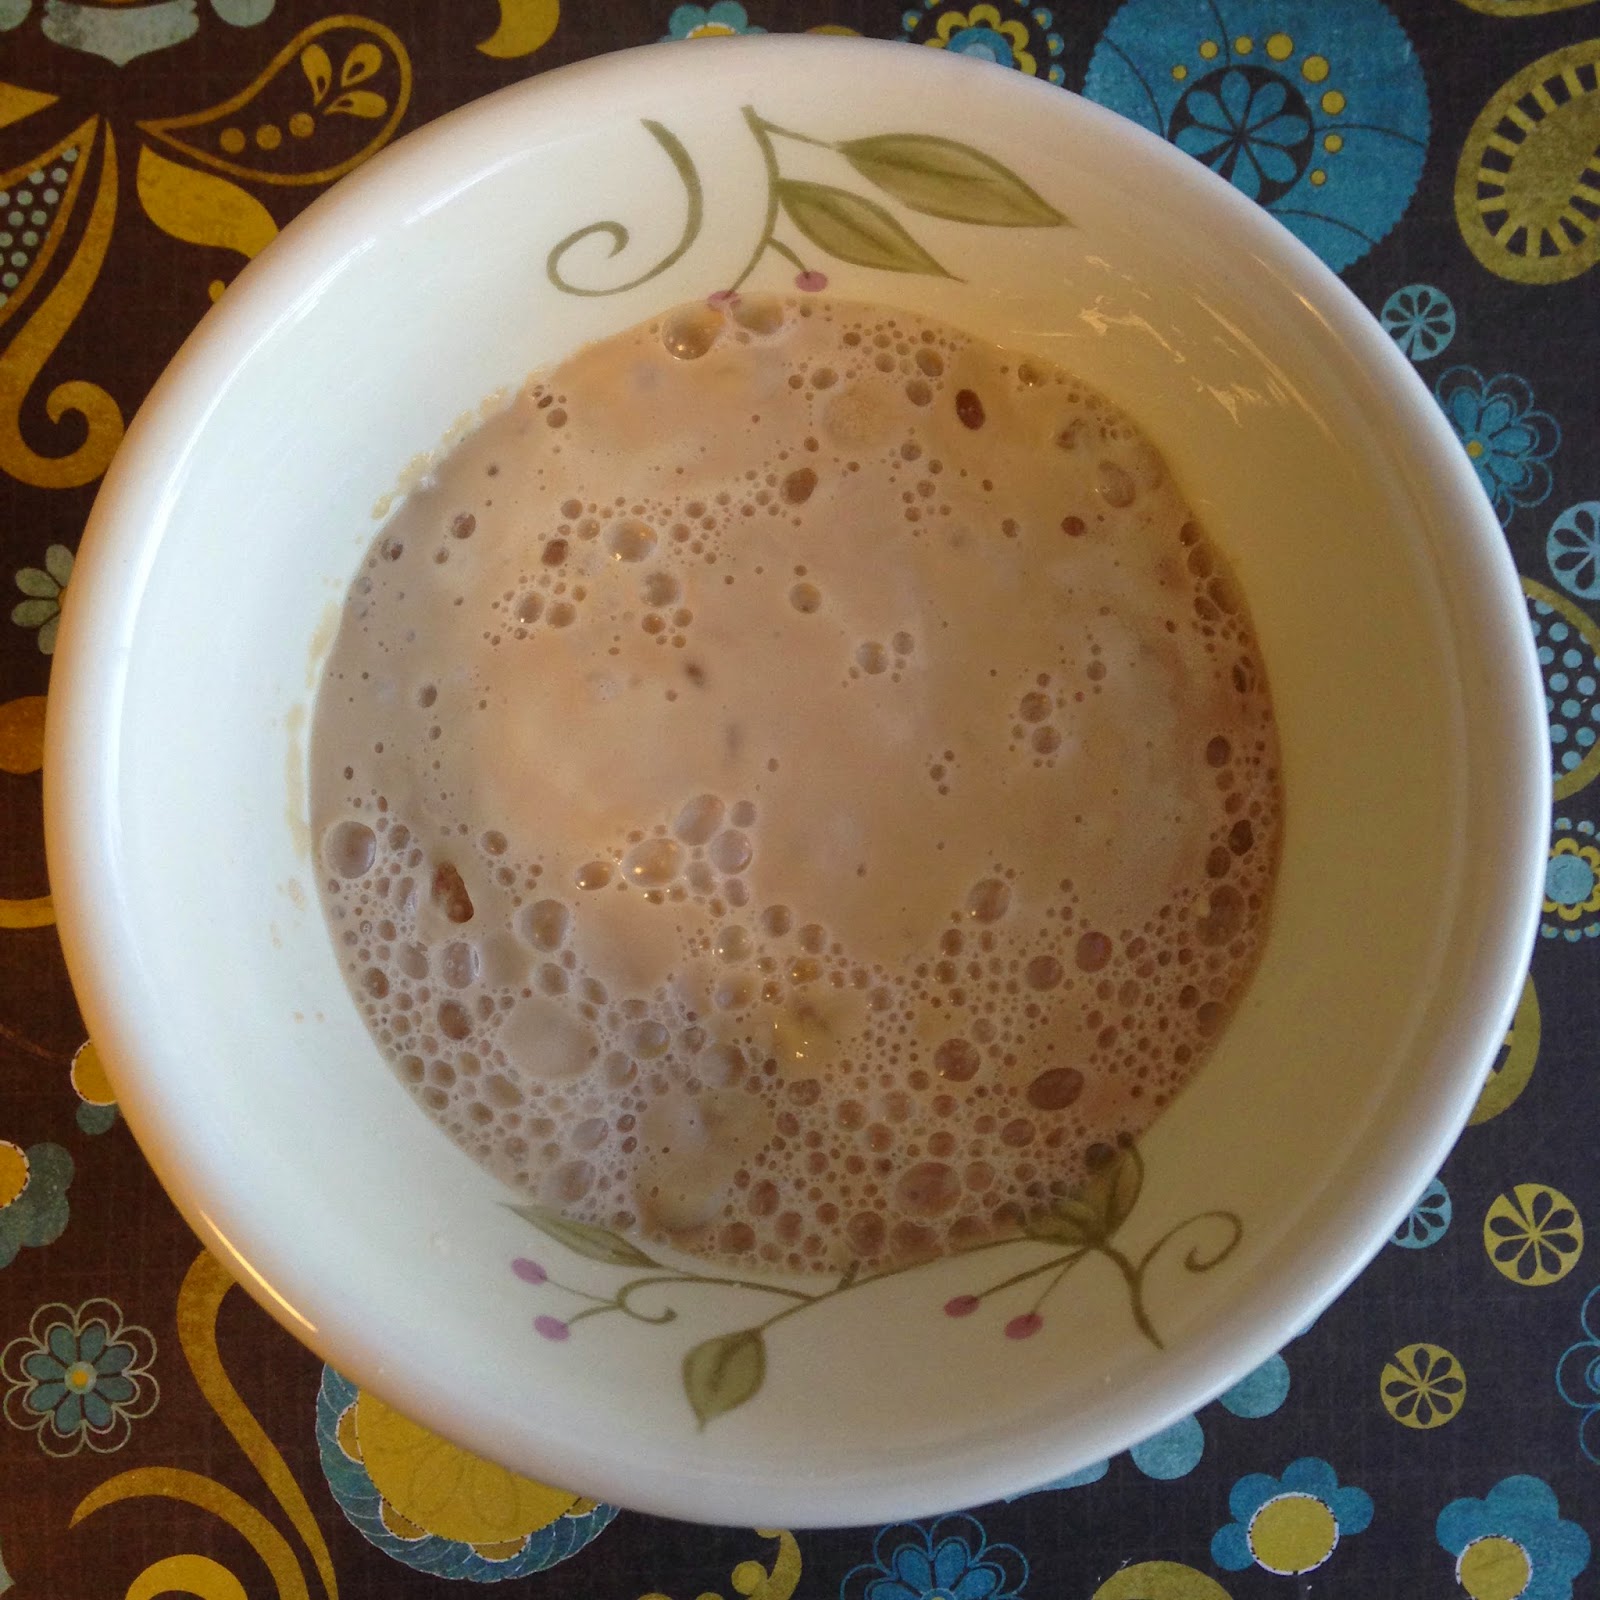
1. Combine the yeast with warm water in a cup. Gently stir and leave it to soak for 15 minutes. Hot water can kill the yeast, so make sure your water is just warm.
2. While the yeast is soaking, use an electric mixer to beat eggs with sugar until foamy mixture forms.

3. Stir in the sour cream and mix everything well.

4. After 15 minutes have passed, the yeast mixture should have a foamy top layer formed. I call it a yeast "shapka" (Russian for "a hat").
5. Gently stir in the yeast mixture into the egg mixture. Mix well.

6. Mix the flour with salt. Gradually start stirring in flour, one cup at a time. When the dough becomes thick enough, knead it with your hands until it looks smooth and there are no flour clumps.

7. Once you're done with kneading the flour in, your dough will look like this. Very humble and uncomely. But the looks are deceiving. With the help of some time and warmth, your dough will turn into a majestic piece of work. Leave the dough in the mixing bowl, cover with plastic, and leave to rise. The time needed for the dough to rise largely depends on the temperature of your house. In the summer, it takes about 1 hour for the dough to rise. This time I was making pirozhki in the fall, and it took 3 hours for the dough to rise in the house with the temperature of 66F (Brr, freezing!). I was at Church, so it worked out perfectly. If you're pressed for time, I suggest warming up your kitchen.

8. This is what my dough looked like after three hours or rising. Isn't it beautiful?!

9. Dust the working space with flour. Divide the dough into four parts.

10. Roll each piece of dough into a 12-15 inch roll. It should be about 2.5 inches thick. However, don't stress over the size and dimensions. You can't really make big mistakes here. Your pirozhki can be as small or as big as you want. My grandma makes them real big while my mom makes them a bit smaller. Mine are the smallest in the family.

11. Cut the roll into 1 inch-thick pieces.

12. With your hands form a more or less round circle. No stress if it looks more like an oval :) Dust with flour.

13. Using a rolling pin, roll the circle into a well-shaped circle about 1/4-1/8 inch thick. Again, it all depends on how thick you want them. My grandma and mom love more bread around the filling, so they roll the circle a bit thicker.

14. Add about 2 tbsp filling to the center of the circle. Don't overstuff or understuff them. You should just have enough dough to turn them over and seal. Don't leave too much dough around the filling.

15. Using your hands, roll one side of the circle over and pinch the edges. You'll get your first glimpse of what's going to be a delicious pirozhok!

16. Repeat about 30 times :) Good luck. Spray a cooking sheet or a baking dish with cooking spray. Arrange pirozhki next to each other. Do not skip this step: let them stand for 15-20 minutes to allow the dough to rise a little bit more. That way the pirozhki will come out of the oven fluffy and puffy. Beat one egg in a small bowl. Brush each pirozhok with the egg.

17. Oven should be preheated to 350F. Bake pirozhki for 20-25 minutes or until golden brown. Enjoy warm!


No comments:
Post a Comment